Office Pod Against a Wall or Freestanding? Check Access, Connections and the Door
A wall position can preserve more open floor area, but it is only the better choice when the selected pod keeps its required access, ventilation openings, connections and door movement clear. A freestanding position exposes more sides and may simplify those checks, yet it can consume more circulation space and leave power or data routes harder to resolve. Compare the same pod in both positions before changing the product or accepting the first empty corner.
Here, “against a wall” means positioned near a wall, not necessarily touching or attached to it. “Freestanding placement” means positioned away from walls; any fixing requirements must be confirmed separately.
This is a different decision from choosing a central cluster or distributing pods near teams. First decide where private-space demand belongs. Then decide how each pod should relate to walls, corners, neighboring pods and the surrounding route.
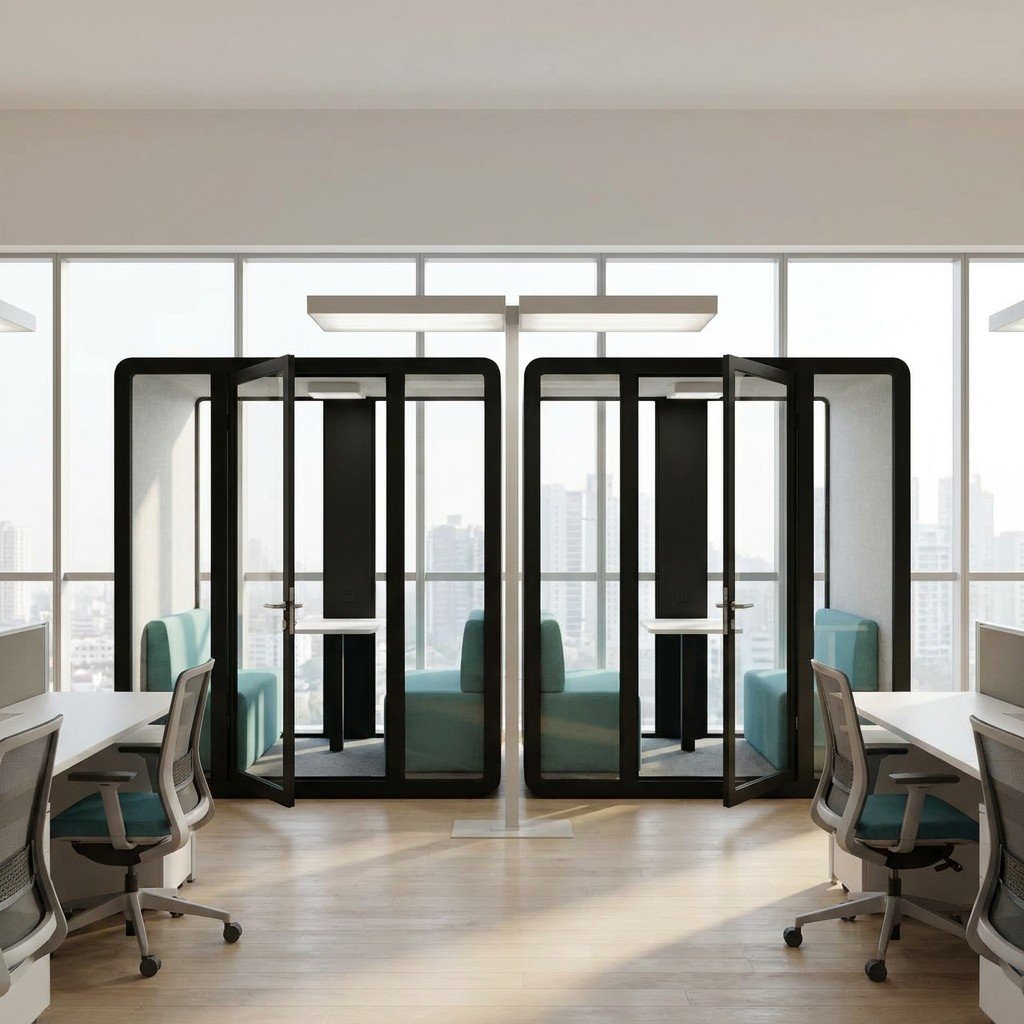
Compare four arrangements, not two labels
These arrangements can overlap: a row of pods may also sit beside a wall. Check both the grouping and each pod’s position relative to surrounding walls.
Beside one wall
Useful when: the wall edge preserves a clear office center and the pod face against the wall does not need routine access.
What can fail: a service panel, cable connection, air opening or cleaning gap may be placed on the hidden side.
In a corner
Useful when: two fixed boundaries still leave the entrance, required access faces and building services workable.
What can fail: two constrained sides leave fewer ways to rotate the pod or reach behind it later.
In a row
Useful when: several pods share a clear approach and every unit retains the access specified for that model.
What can fail: one repeated spacing assumption may not suit end units, different door directions or different connection points.
Freestanding
Useful when: access from several sides helps installation, cleaning or future changes and the surrounding route remains clear.
What can fail: the pod may interrupt movement or require a connection route across an open area.
The Framery Pod Placement Guide 2024 presents perimeter alignment, corners, rows and standalone pods as different planning patterns. That supports comparing these arrangements, but it does not provide MobileX dimensions or approve a proposed site.
Identify the faces that must remain usable
Do not treat the pod as a rectangle with four interchangeable sides. Use the exact ordered configuration drawing and mark five things on it:
- Entrance face: the approach, handle position and full door movement.
- Connection face: the agreed route for pod power, data or other ordered interfaces.
- Ventilation faces: any inlet or outlet that must remain unobstructed for the selected configuration.
- Access faces: panels, fasteners, leveling points or parts that must be reached during installation, care or later removal.
- Visible faces: glazing, solid panels and finishes that affect sightlines and the surrounding workspace.
These faces are model- and configuration-specific. For example, ROOM’s Day 1 Planning Guide gives different placement distances for its own phone booths and meeting rooms and links some spacing to anchoring-tool access. Those figures belong to ROOM products; they show why a buyer needs the selected manufacturer’s current drawing rather than a universal office-pod gap.
For MobileX, ask the quotation or drawing to identify the external size, door arrangement, power connection position and any access condition that affects the proposed placement. Do not invent a clearance from an interior dimension or copy another manufacturer’s number.
Draw the door and the user approach together
A pod may fit beside a wall while its open door conflicts with a workstation, a waiting position or the route around the enclosure. Draw the actual door movement and show where a user approaches from. The separate office pod door-direction guide explains how to describe hinges, handle side and opening direction from one agreed viewpoint.
Do not assume the door can be reversed after delivery. A different position may require a different ordered arrangement, and availability must be confirmed for the exact model, frame, hinges, seals and hardware.
Resolve connections before choosing the neatest position
A perimeter position can put the pod near an existing wall connection, but it can also place the connection behind the pod. A freestanding position may expose the connection face while leaving a cable route across the floor. Neither arrangement is automatically cleaner or easier.
Mark the building-side source and the proposed route to the pod. Keep the route out of door movement and normal circulation, then confirm the electrical arrangement with the responsible local party. For network planning, compare building Wi-Fi and wired routes in the office pod connection guide. For different destination requirements, keep site supply, pod input and interior outlets separate using the electrical variants guide.
Use a marked floor test before ordering
Mark the proposed pod outline on the floor at its real external size. Add the wall edge, neighboring pod, nearby furniture, building connection and the fully open door. Then walk the approach and the route around the pod. This simple test can reveal an obvious conflict, although it does not replace the selected model drawing or the site’s required review.
Hypothetical comparison: the same meeting pod is considered in two positions.
Position A, beside a wall: it preserves more open floor, but the proposed orientation places the ordered connection point and one required access face against the wall. The buyer should rotate the pod, change the position or confirm another suitable configuration before ordering.
Position B, freestanding: the access faces are reachable, but the proposed cable route crosses normal circulation. The buyer should resolve a safe building-side connection route or reject the position.
The useful answer may be a revised perimeter position rather than a blanket preference for wall or freestanding placement.
If the available position blocks a required access face, interferes with the door or cannot receive a workable connection, first test another orientation or another location. The custom-size and site-fit guide explains when changing position is preferable to changing the shell. An existing private room may also be the better answer when it already serves the task and avoids a compromised pod location.
Turn the preferred arrangement into a quotation input
Send MobileX the proposed model and quantity, an annotated floor plan, the wall and neighboring-pod positions, door approach, available power and data points, nearby furniture and any face that must remain accessible. If an item is not yet known, mark it as to be confirmed rather than guessing.
Use the MobileX office pod range to select a starting model, then share the marked plan through the project inquiry page. MobileX can review the proposed product configuration against the layout; the responsible project team must still confirm the site conditions and applicable local requirements.