Custom Office Pod Finishes: How to Approve Color, Texture and Branding
To approve the appearance of a custom office pod, agree on a physical finish reference, identify where each finish will be used, and record the approved logo artwork and its position. A color name or a rendered image is useful for discussion, but it leaves too much open for a manufacturing decision. The approval should connect a particular sample to a particular component and drawing revision.
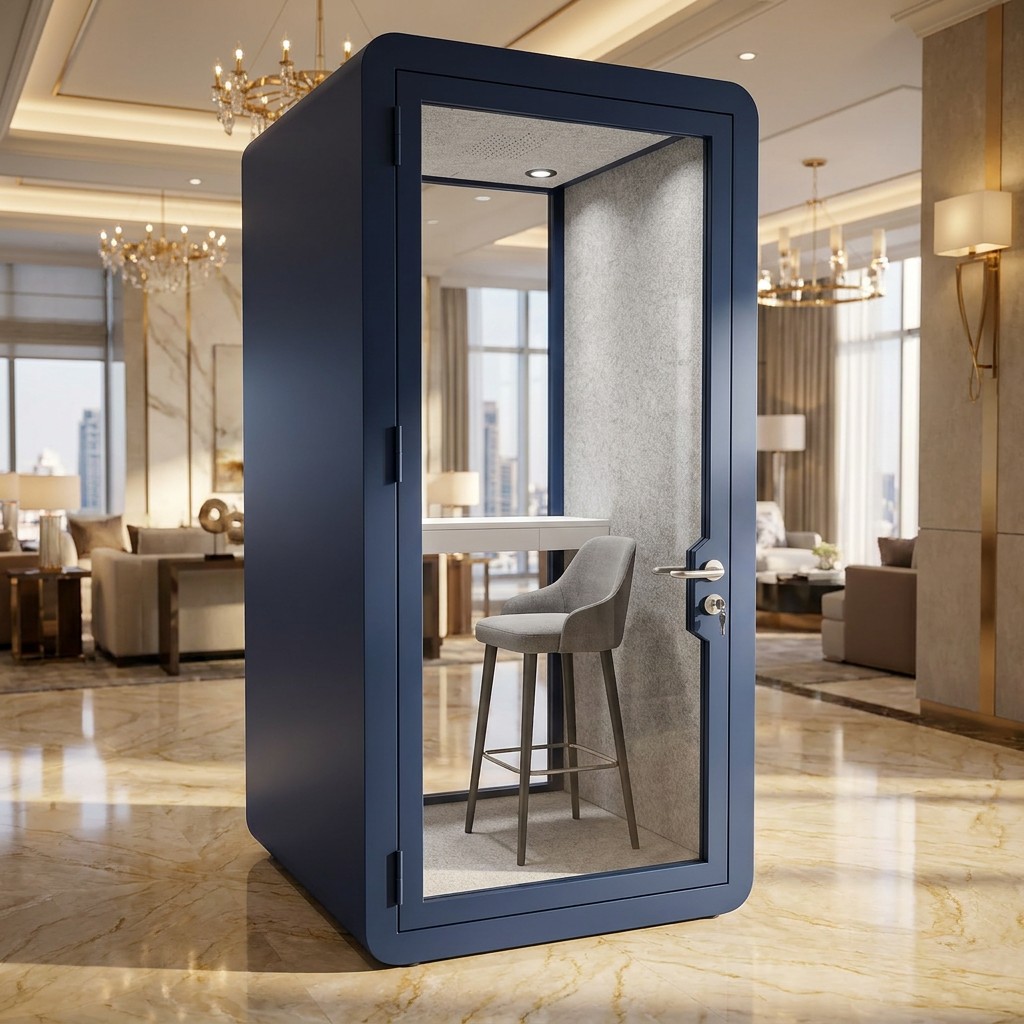
For a designer, this is about how the pod will sit beside the surrounding furniture. For a dealer or project buyer, it is also about ordering the same agreed appearance again without starting the conversation from scratch.
Separate the decisions hidden inside “match our brand”
A pod exterior, an interior lining and a printed logo do not necessarily use the same material or production process. Ask the supplier to identify the proposed finish for each surface before choosing a reference.
Use a short finish schedule rather than one instruction covering the whole pod:
Scroll horizontally to compare all columns on a narrow screen.
| Part to identify | Decision to record | Reference to retain |
|---|---|---|
| Exterior panels and frame | Color, surface texture and intended sheen | Labeled physical sample and component reference |
| Interior lining | Material option, color and visible pattern or direction | Supplier's proposed material sample |
| Table, counter or seating finish | Surface appearance and exposed-edge treatment | Proposed material or finished sample |
| Logo or graphics | Approved artwork, position, size and application method | Artwork revision and marked-up elevation |
This is a buyer's comparison tool, not a list of finishes automatically included with every pod. Start with the options available for the selected design. A standard finish may be the more practical choice when it already suits the project; a special finish needs its own confirmation.
Use a physical reference for the final color decision
A photograph can communicate a direction such as a warm neutral exterior or a darker interior. It is less useful as the sole acceptance reference. RAL's own digital color guidance explains that digital illustrations approximate the physical color and recommends physical samples for final decisions. See the RAL digital color library guidance.
If the project specifies a color system, record the system and code rather than sending a screenshot of a color swatch. Then ask whether the proposed finish is a standard supplier option or requires matching. A color reference alone does not confirm the available material, finish process or degree of match.
For the final review, ask for a sample representative of the proposed surface and finish. Check it beside the materials that matter to the project. For example, compare the exterior with the nearby desk finishes, and the interior lining with the proposed seating rather than reviewing everything separately on a phone screen.
Agree how to judge the sample: which reference controls, where it will be reviewed and who can approve it. Keep a dated record of that decision. If an exact match is critical, resolve the acceptance method with the supplier before committing to production, rather than inventing a tolerance after delivery.
Use factory-stage photographs as a finish-approval record
Factory-stage photographs can add a useful checkpoint between the approved physical reference and the finished office pod. The three original photographs below show burgundy-colored panel parts supported on production racks. They record visible component faces, edge returns, ventilation openings and rear framing at that stage; they do not show a complete pod or a delivered customer project.
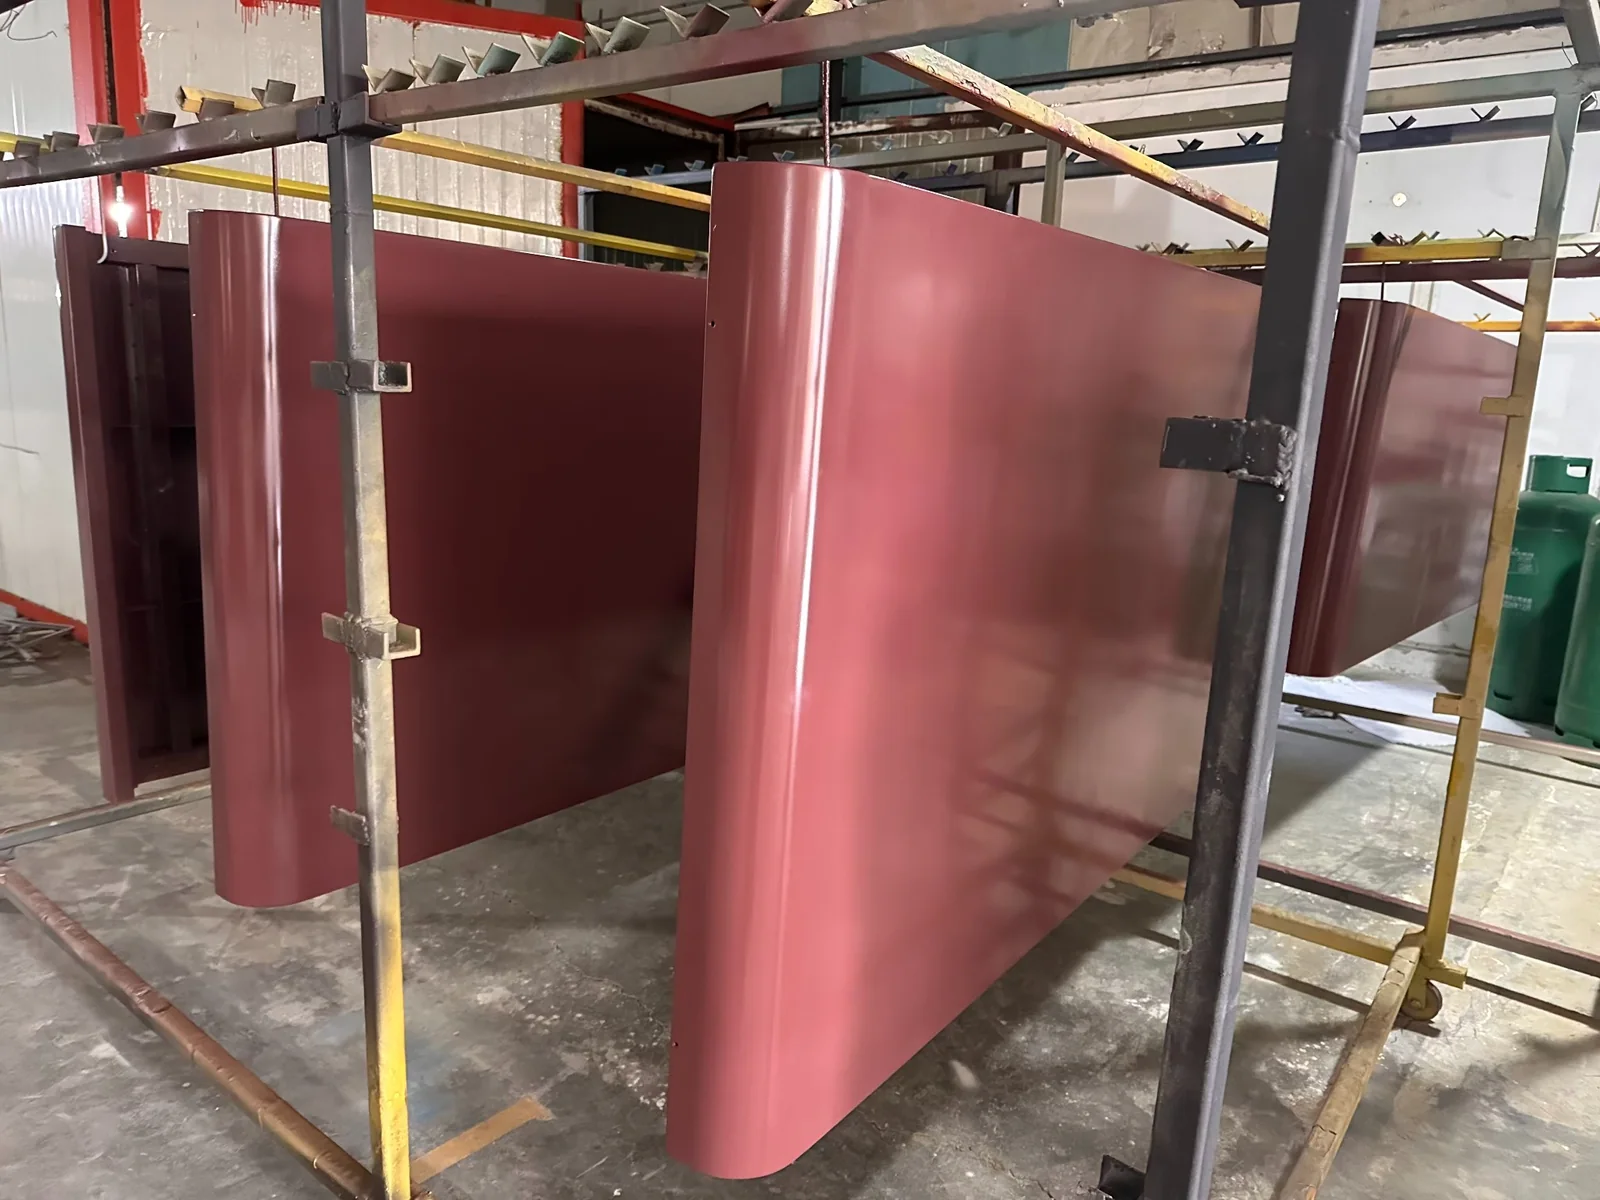
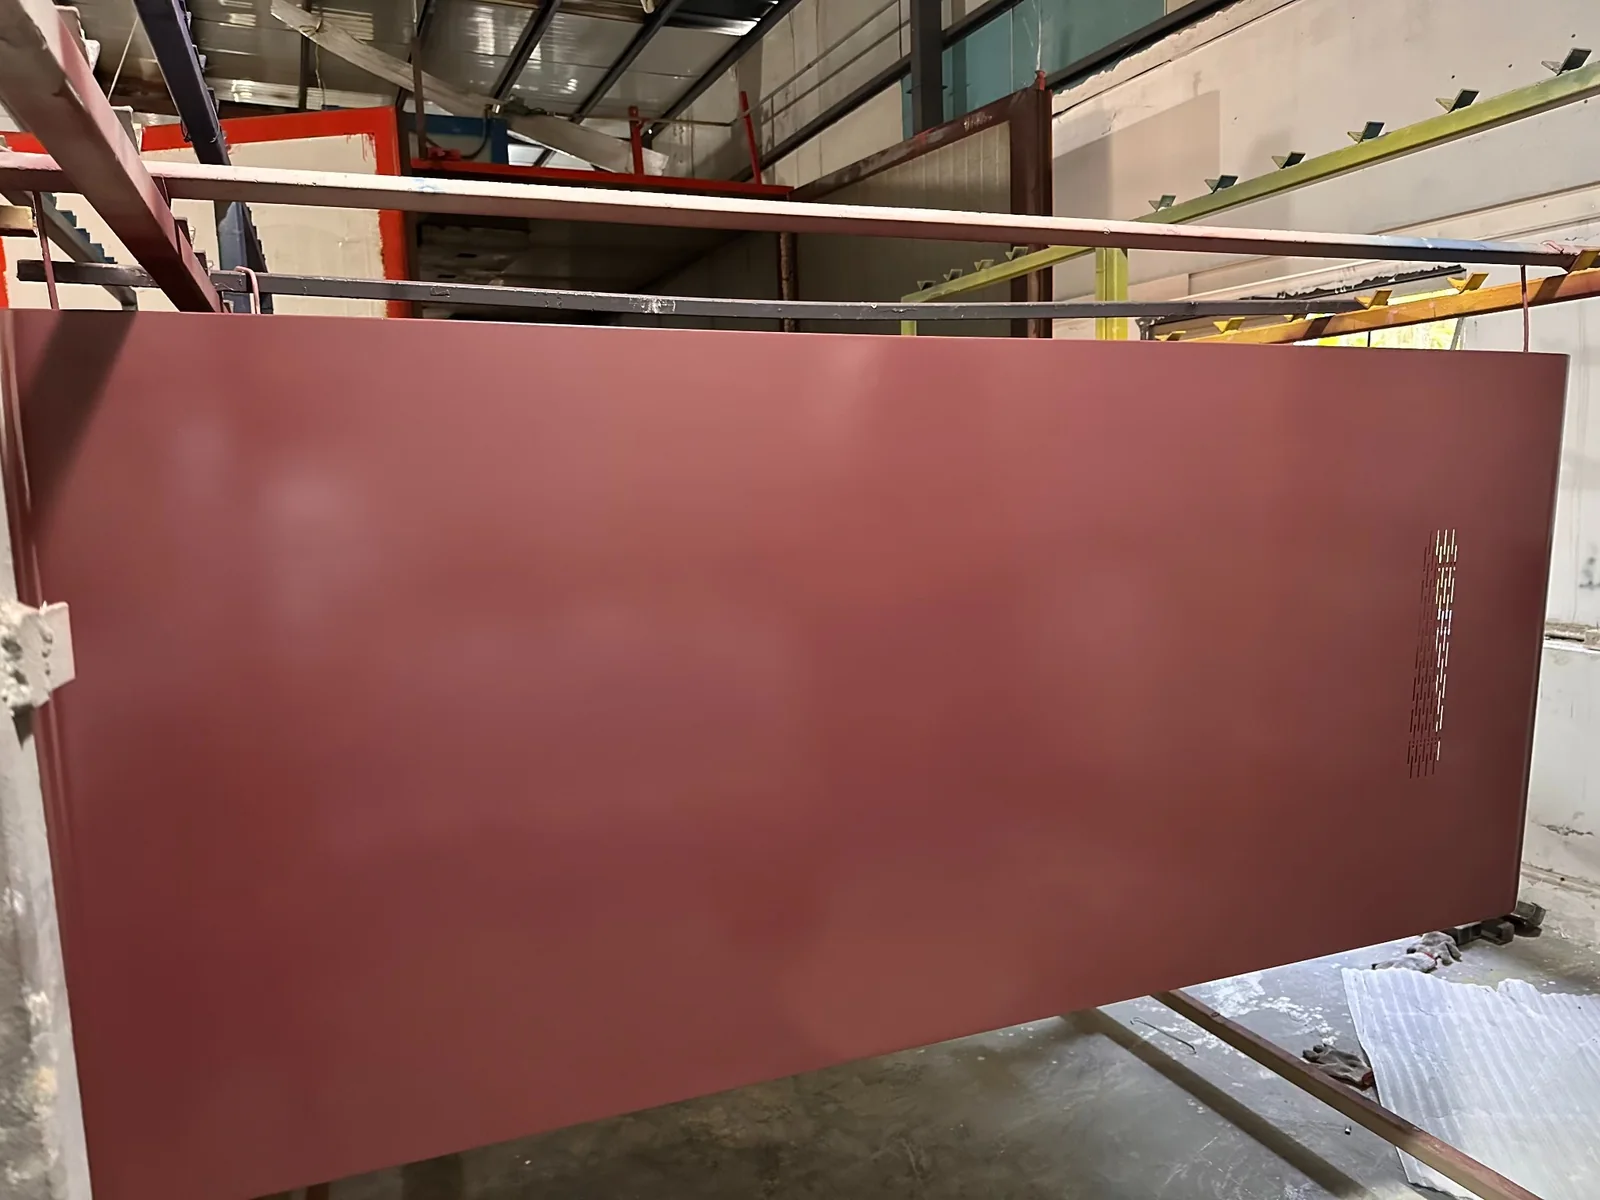
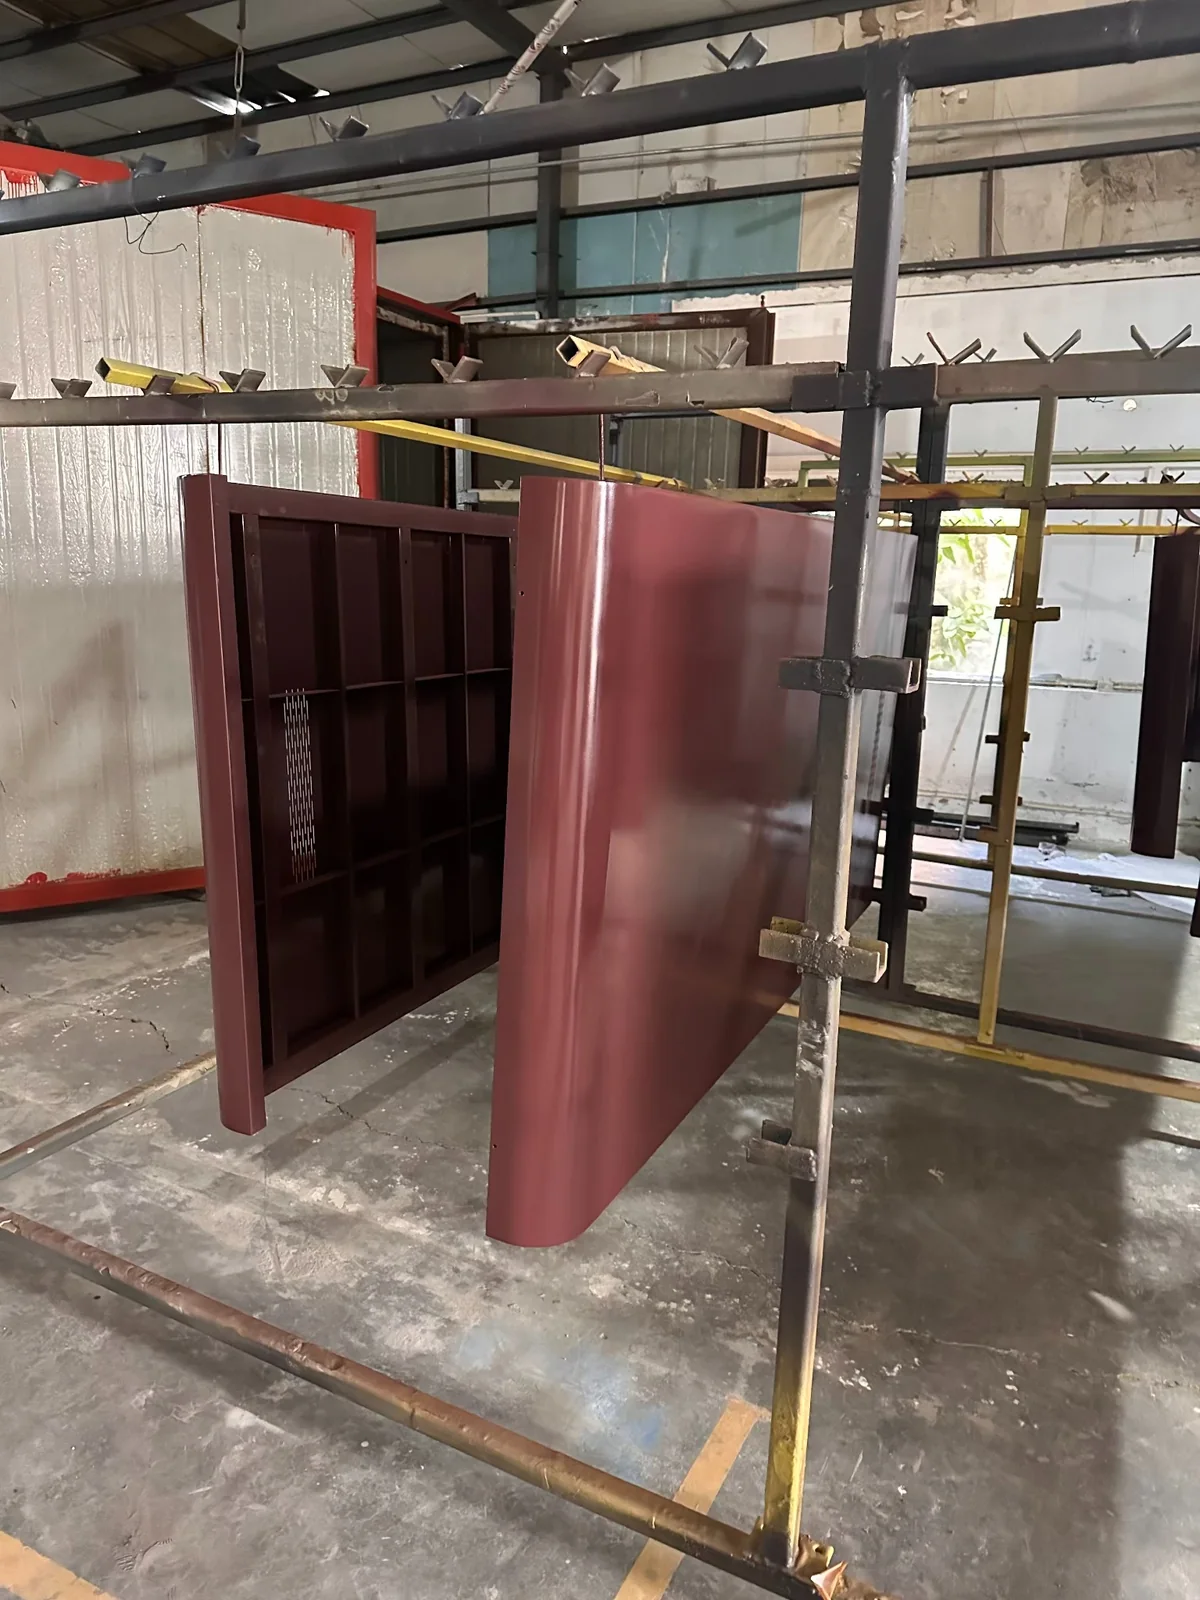
To make photographs useful, identify the component or finish-schedule line shown in each image and keep the date with the approval record. Review whether the photographed part matches the intended panel face, edge treatment and visible openings. Because factory lighting, camera processing and displays change appearance, the approved physical reference should still control the final color decision.
These images do not establish coating chemistry, film thickness, production quantity, model, destination or customer acceptance. If any of those points matter to the order, record them separately in the quotation, finish schedule or inspection evidence rather than inferring them from a rack photograph.
Review the combination, not only individual swatches
An approved set of swatches is a useful starting point, but the buyer should also review how the selected surfaces meet. Use an elevation or a clearly annotated product image to mark the frame, panels, door, lining and furniture finishes.
See the color zones in two factory examples
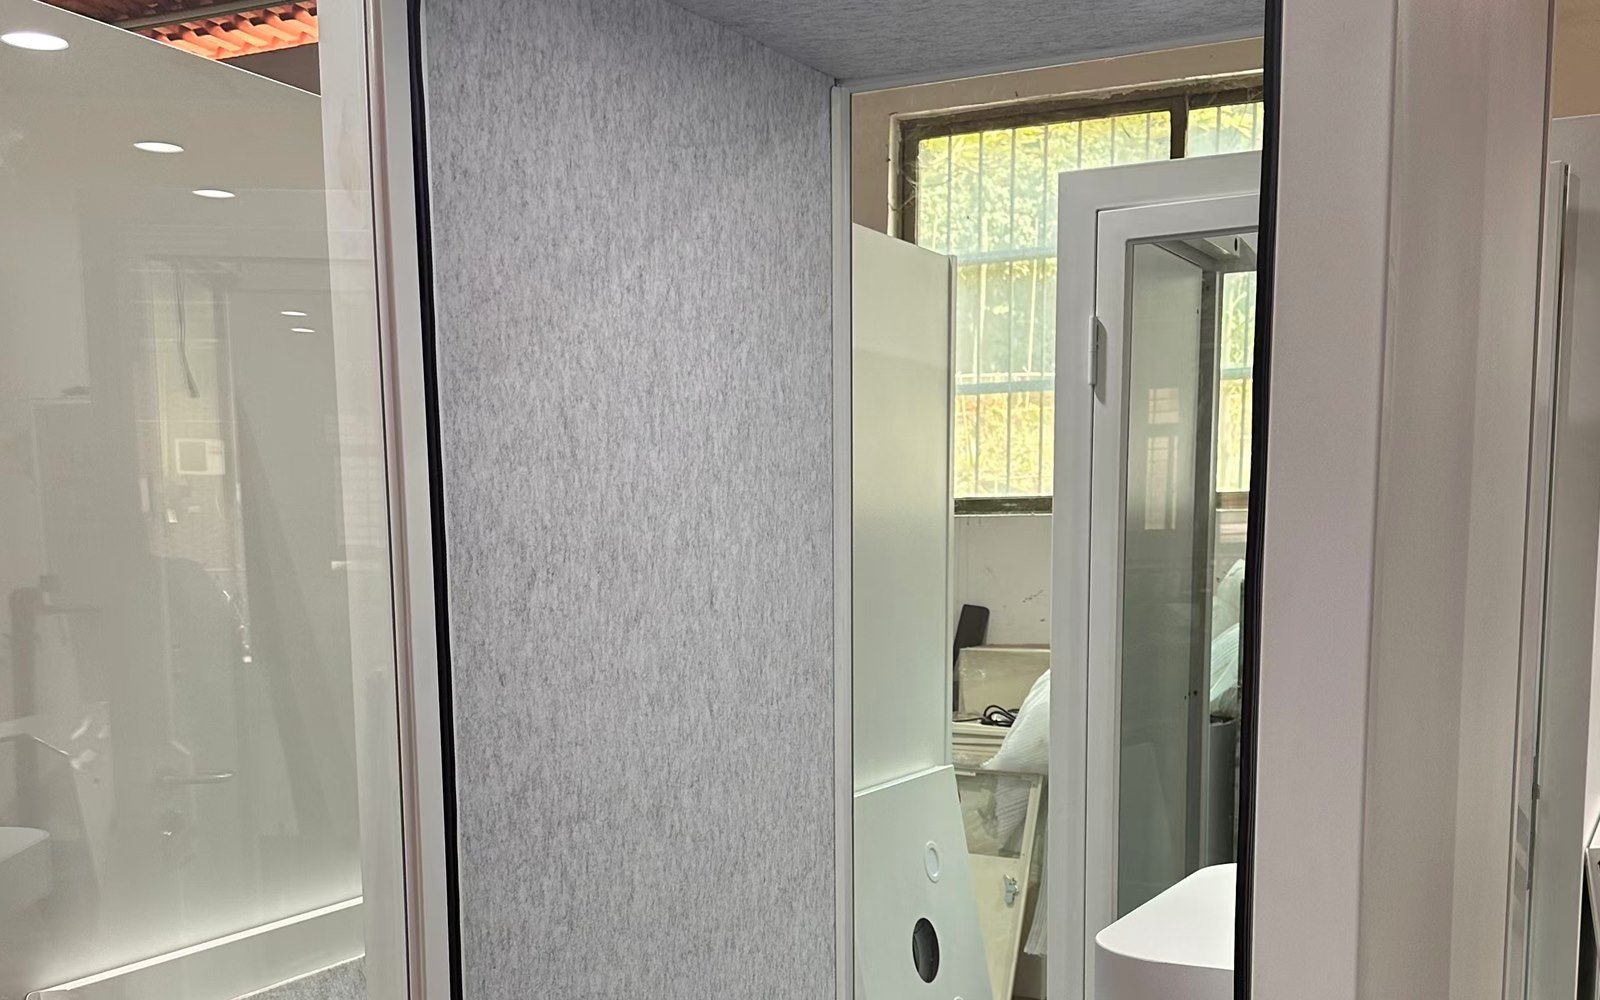
These MobileX factory photographs make the finish choices easier to separate. In one example, the red exterior meets a black front frame. In the other, white shells and black frames surround different visible interior colors. An instruction such as “make the pod white” would leave those interior choices open.
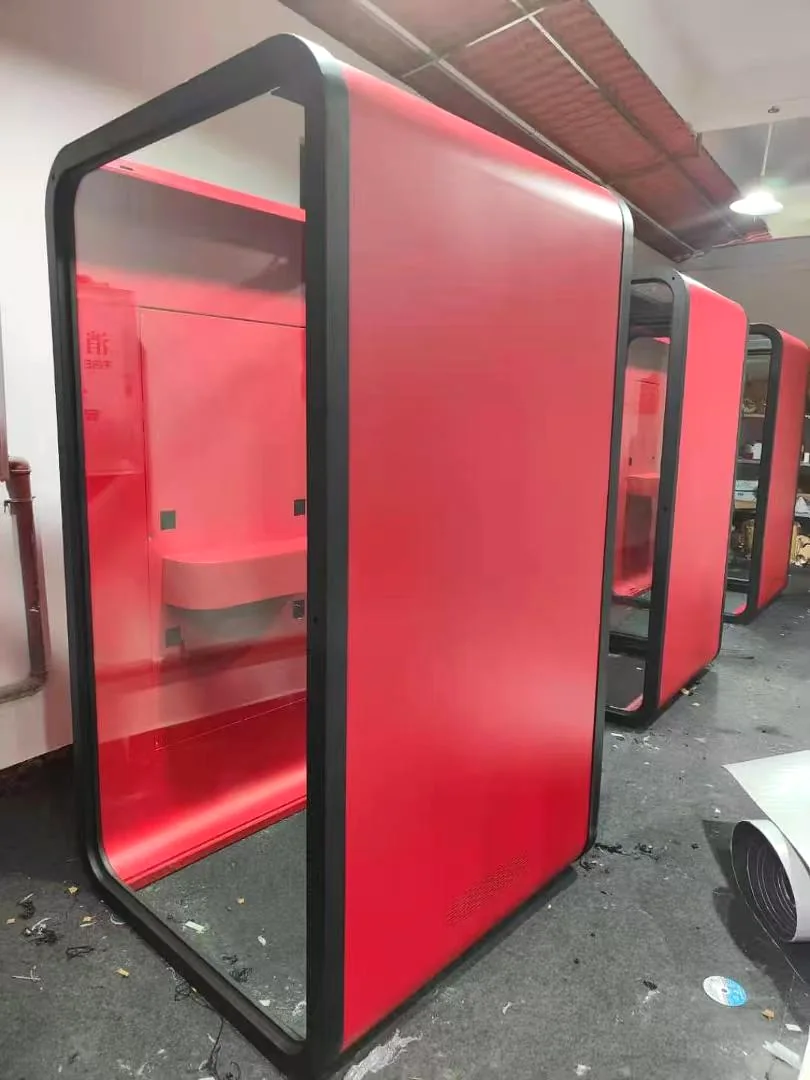
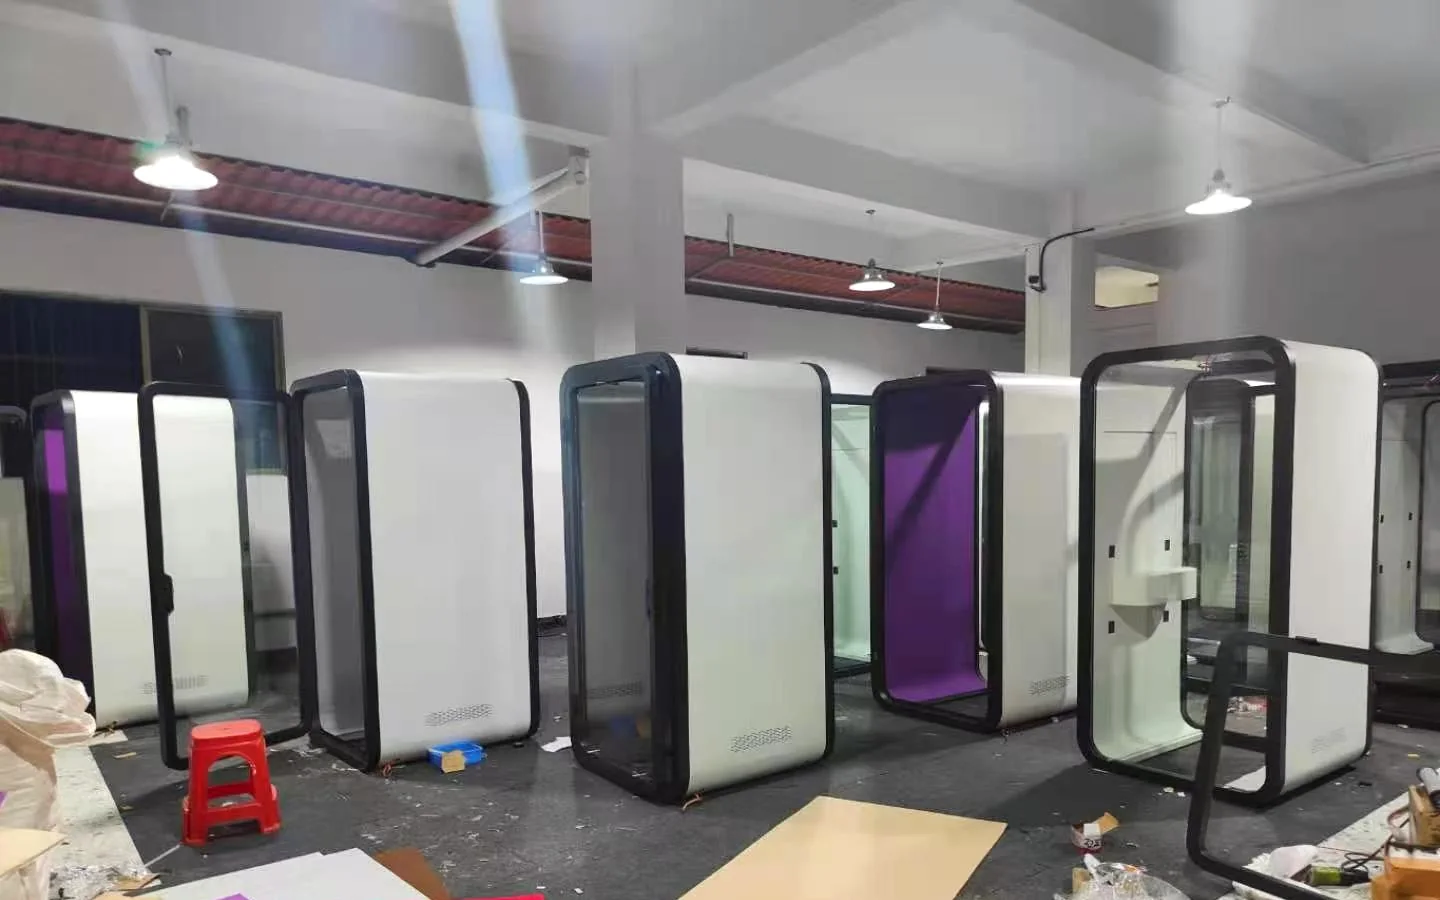
Use these views to mark three separate lines on your own elevation: outer shell panels, front and door framing, and visible interior surfaces. Give each line its own selected reference. Identify the worktop, seating and logo separately rather than assuming they follow the shell color.
For a dealer ordering more than one appearance, specify the common parts once, then list each intended interior variant and its quantity. Ask MobileX to return that marked-up arrangement with the proposed material and finish references, so the quotation describes the combination you want to buy. The photographs show factory-stage examples; use the physical samples and agreed finish schedule for your order’s final color approval.
Look for practical inconsistencies:
- Has the same color been assigned to two different materials without discussing the expected appearance?
- Are visible edges included in the finish instruction?
- Does a patterned surface have a direction that should be shown on the drawing?
- Does the proposed combination still work with the customer's furniture and signage?
- Are the surfaces visible through the glass included in the decision?
For a project with several pods, distinguish a shared finish from intentional variants. “Same as the meeting booth” is not enough if that pod has more than one finish revision.
Approve the logo as artwork and as an installed detail
Send the approved artwork file and identify its revision. Ask the supplier to confirm the usable file format and proposed application method. Do not assume that a method shown on another product is available on the selected panel or surface.
The approval record should show the logo's width and height, the side of the pod, its position relative to a fixed edge, and its orientation. Review placement with the door both open and closed where relevant. Check that the graphic does not interfere with glazing, handles, required product labels or access to serviceable parts.
If a dealer uses a private label, keep the branding instruction separate from the product's technical identity. A different customer-facing logo should not make the configuration or support record difficult to identify later.
Choose a lasting brand finish or a planned graphic change
Use a lasting branded appearance when the same organisation and identity are expected to remain on the pod. If the enclosure will move between customer accounts or carry changing campaigns, compare a neutral underlying finish with a deliberately defined area for replaceable graphics. The difference is not the artwork file: it is what must be removed, retained and made good at the next change.
A full-surface graphic may give the desired first appearance, but it also makes that whole surface part of a later change. A smaller logo or campaign zone can leave more of the original finish untouched. Show both on the same elevation and decide how much visible branding the task actually needs. Do not assume that every surface suitable for a first application is also suitable for repeated removal.
Keep three product choices separate: a finish intended to remain, an applied graphic with a defined removal arrangement, and a separately mounted sign or graphic carrier that can be changed without removing the pod’s surface finish. The last option still needs an approved attachment detail; it is not permission to drill a finished panel or a claim that MobileX offers a standard interchangeable sign system. Prefer the arrangement whose next change can be described and priced, rather than paying for unspecified flexibility.
3M’s graphic-removal bulletin explains that the condition of the underlying surface can affect removal and that a damaged or unsuitable surface can be damaged further. That supports a compatibility review, not a promise that a film described as removable will leave a MobileX coating unchanged. Have the graphics provider assess the actual proposed surface and application, including the intended time in use. A representative sample can help resolve an uncertainty; a successful sample does not guarantee every later removal condition.
Hypothetical purchasing example: a dealer expects a demonstration pod to carry one customer’s logo and later return to a neutral showroom appearance. Compare the agreed initial finish plus a limited graphic area with a full branded application that will need stripping or surface work. If the identity will instead stay for the pod’s planned use, the lasting application may be the simpler choice. This is a planning example, not a MobileX rebranding project or a claim about removal time.
Request the first application and one defined change as separate priced scopes. Identify who removes the old graphic or carrier, prepares any affected surface, supplies the new artwork and material, reinstalls it and accepts the resulting appearance. Include any closure, transport or local labour actually required; do not count an unconfirmed repair allowance as an included service or claim a saving without comparable offers. Keep product identification and service access outside the area being changed.
MobileX can discuss the finish, graphic position and proposed physical provisions within the custom project. The quotation should distinguish those agreed items from a graphics contractor’s application and future removal work. Approve the expected next appearance as well as the first one, without turning a branding request into an unsupported guarantee of repeated, damage-free changes.
Decide what evidence is needed before releasing the finish
Not every appearance decision needs a complete sample pod. Choose the evidence that answers the unresolved question:
- A material sample helps when the uncertainty is the proposed surface, texture or color.
- An artwork proof and elevation help when the uncertainty is logo size, orientation or placement.
- A representative finished part may be useful when edges, graphics or adjacent materials cannot be judged adequately from separate samples.
- A configured sample unit may be appropriate when appearance must be reviewed together with the complete product. Agree its scope and commercial terms separately.
These checks complement the custom pod drawing review. They do not replace approval of dimensions, equipment interfaces or the division between factory supply and local work.
Keep an approval record that can be used again
Copy the following into the project email or finish schedule:
- Project and pod configuration: [identify the design]
- Component or surface: [name and drawing reference]
- Proposed material and finish: [supplier option or specification]
- Color reference and physical sample ID: [identify both]
- Texture, sheen and visible edges: [record the agreed appearance]
- Logo artwork and placement revision: [file reference and elevation]
- Outstanding differences: [list each unresolved item]
- Approval owner and date: [name or role, date]
- Retained reference: [who holds the approved sample or record]
Avoid a single “looks fine” message where several options are still visible in the email chain. Identify the accepted choice and close the alternatives. If a finish changes later, issue a new reference and state which earlier decision it replaces.
Discuss the finish as part of the actual pod project
MobileX POD supports discussions about custom color, panel finish, branding and project configuration through its custom modular pod service. Available materials, application methods, sample arrangements and any effect on cost or timing should be confirmed for the proposed design.
If the design starts from a standard booth, identify the relevant office pod configuration before specifying changes. That makes it easier to distinguish the standard product from the requested finish package.
For a project discussion, send the intended use, pod configuration, quantity, destination, finish references and logo artwork through Contact MobileX POD. Include the decision you still need to make: selecting an available finish, assessing a custom match or reviewing a branded sample. A focused request gives the supplier a clear next question to answer.