Glass Office Pods: Balance Sightlines, Screen Privacy and Daylight
Choose the orientation of glass office pods by deciding what people should see, from where, and during which activity. Keep useful views toward the entrance or surrounding room, turn screens away from unwanted viewing routes, and assess any remaining need for screening. The best starting point is a marked-up plan showing seats, displays, nearby desks and passing traffic, not a request for either maximum glass or maximum opacity.
For facilities buyers, designers and furniture dealers, a glazed enclosure creates several separate decisions. Seeing that a pod is occupied is different from reading the occupant's screen. An outward view is different from comfortable daylight at the desk. Visual screening is also different from speech privacy: changing what can be seen does not establish how much sound the completed enclosure controls. Give each requirement its own review.
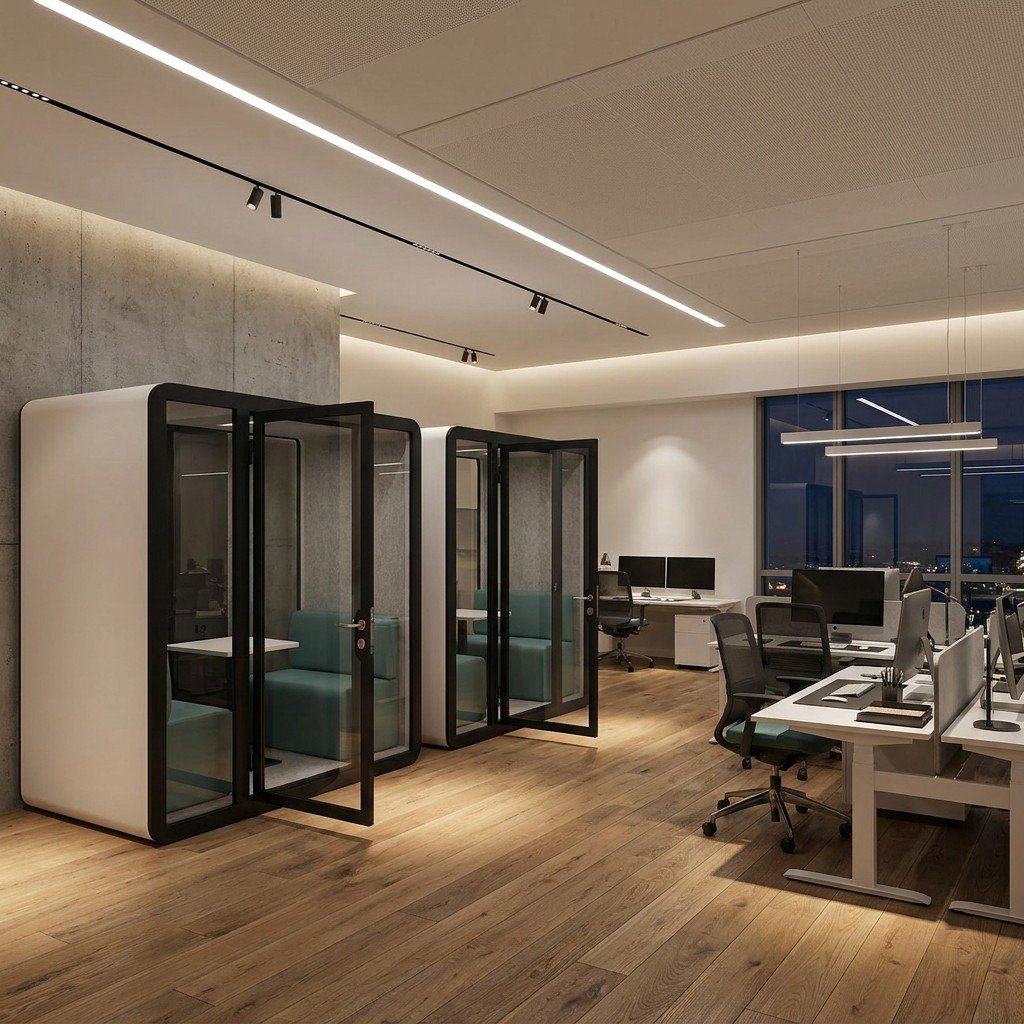
Start with three views, not a single privacy label
Mark the view from the occupied seat, from a neighboring workstation and from the route people use to pass the pod. Include a waiting position if someone may pause outside rather than walk straight past.
From inside: decide whether the occupant should see the entrance, an approaching colleague or a view beyond the pod. Check the actual seated position, not only the attractive view through an empty enclosure. A table, laptop or monitor can change that view.
From adjacent desks: check what remains visible to someone sitting nearby for a sustained period. This can be more important for screen privacy than a brief view from the corridor. Include an opposing workstation and any seat facing the glazed side.
From the circulation route: distinguish an ordinary passing glance from a direct view into the display. Look from both directions and at the point closest to the glass. Include the door open and closed, because a screened door can leave the view exposed while someone enters.
Agree what each observer needs to see. “Show whether occupied, but keep displayed work out of the corridor view” is a useful brief. “Make it private” leaves the supplier guessing whether the concern is movement, faces, documents, screens or conversation.
If the initial decision is whether an enclosure is needed at all, use the study pods versus open carrels comparison. This guide starts after the buyer has a proposed pod and needs to evaluate its glazed faces.
Compare clear, partially screened and opaque-facing arrangements
Discuss these as layout alternatives for the selected design. A proposed finish or panel change needs supplier confirmation; the comparison is not a list of options included with every MobileX pod.
Scroll horizontally to compare all columns.
| Arrangement to assess | Useful starting situation | Main trade-off | What the buyer should check |
|---|---|---|---|
| Clear glazing toward the room | Seeing the entrance or surrounding activity is important, and screen orientation can control the unwanted view | People and equipment remain visible along unobstructed sightlines | Whether neighboring seats or a waiting person can read the display; whether the door-open state changes the result |
| Partial screening on an identified glazed area | One particular viewing route needs to be interrupted while another view remains useful | A band or selected panel protects only the area and viewing angles it actually covers | The screen position, seated and standing viewpoints, exact treated area, edge conditions and the appearance under planned lighting |
| An existing opaque side facing the sensitive direction, or an agreed opaque-panel alternative | A persistent side view into work is the concern and another face can provide the needed outlook | The blocked direction also loses its view through the enclosure | Whether reorientation still permits entry, furniture use, access to services and the required outside view; whether a panel substitution is feasible |
Try repositioning the screen or rotating the proposed layout before specifying a new glazing treatment. Compare the resulting door swing, access route and usable furniture arrangement at the same time. A screen-facing wall may solve the sightline while a rotated entrance creates a new circulation problem.
For example, consider a hypothetical pod beside a corridor with a fixed desk opposite its side. Turning the laptop away from passing traffic may address the corridor view but still expose it to the person at the opposite desk. Compare a different screen location, an available opaque-side orientation and a defined screened area. Choose the arrangement that resolves the actual observer positions without losing a view the occupant needs. This is a planning example, not a measured installation result.
Check the plan in elevation and from the occupied seat
A floor plan shows directions, but it does not show whether a sightline passes above or below a proposed screened area. Add a simple side view or elevation wherever that matters. Use the actual furniture and screen dimensions, the intended monitor adjustment range, and representative seated and standing viewpoints. Do not substitute a universal privacy-band height for these checks.
Label the observer positions A, B and C on the plan, and draw a line toward the display or work surface from each. Record whether the objective is to conceal readable content, conceal the whole screen, or reduce distracting movement. Those are different acceptance conditions.
Where practical, review the arrangement with a representative display and chair in a suitable mock-up or proposed unit. Use non-sensitive sample content. Ask a second person to look from the marked positions while the user sits normally, adjusts the display and opens the door. Include the full range of seats that will actually be used. Record the layout and the remaining exposed view rather than a general “privacy passed” comment.
A photograph can help locate a possible sightline, but it cannot establish what someone will read on a different screen at the final site. Keep any unresolved viewpoint visible on the drawing for the next review.
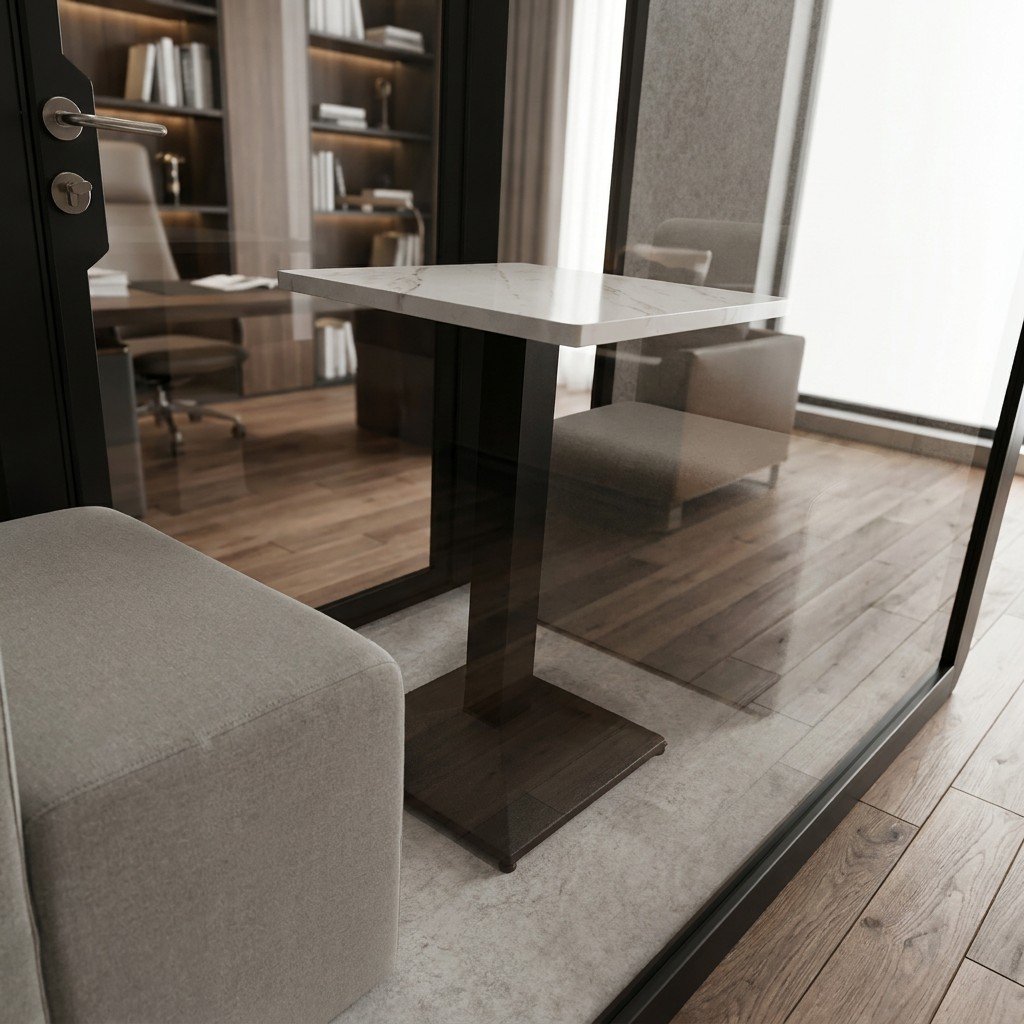
Review daylight and screen reflections together
Show nearby windows, existing blinds and overhead lights on the same plan. Check the display from its normal working position with the intended pod lighting on. Identify a bright area or reflection that makes the task difficult, then compare screen angle, position and available room-lighting controls.
The UK HSE's DSE workstation checklist asks about screen glare and reflections, window coverings and suitable lighting. It includes repositioning or shading light sources and adjusting the workstation among the measures to consider. These are workstation assessment principles, not certification of a pod or a glazing product.
Check a relevant daylight condition as well as the electrically lit condition in which the space may be used. A satisfactory evening view does not answer a question about the window beside the proposed daytime location. If the final site is not available for assessment, record the assumption and arrange the installed check.
Separate three observations: readable content on the display, reflected activity on the glass, and a comfortable view from the seat. Improving one can leave another unresolved. Turning off necessary task lighting to make a photograph look clearer is not a useful acceptance condition. Keep the actual use setting in the comparison.
For calls involving a camera, follow the separate video-call camera, audio and lighting checks. A screen-privacy review from outside does not evaluate the image sent to a remote participant.
Screen filter, fixed frosting or switchable glass?
Choose what needs screening before choosing a privacy product. If the problem is a sideways view of a laptop, changing the whole glazed front may be unnecessary. If people must handle paper or samples out of view, a display filter will not solve the problem. If the same pane needs to be clear for one activity and screened for another, a fixed finish cannot provide both states during use.
| Option | What it changes | Best reason to compare it | Important trade-off |
|---|---|---|---|
| Display privacy filter | The viewing angles of the selected laptop or monitor, rather than the pod glazing. | The unwanted view is from beside the display, and retaining the outward view through the pod matters. | It does not screen paper, faces or other devices. A colleague sitting off-axis may also lose the view needed for shared work; removable or sharing arrangements matter. |
| Fixed frosted or patterned glass film | A defined area of glass has a persistent visual treatment; coverage and light transmission depend on the selected design. | The same area should remain screened throughout the working day, without a switching function. | The treated area does not turn clear for a different session. Partial coverage leaves other sightlines open, and light-transmitting frosting is not the same as an opaque wall. |
| Electrically switchable privacy glazing or film | The specified pane changes between viewing states through an electrical system. | The same area genuinely needs an outward view at some times and visual screening at others. | Specify the controls and electrical connections, confirm who supplies and installs them, and identify the glazing’s state when power is off. A light-diffusing privacy state need not darken the room or act as blackout. |
For concrete examples, 3M’s PF133W9B display filter targets side-angle screen viewing and offers an attachment for switching to screen sharing. Its FASARA Frost/Matte glass finishes span different light-transmission options. Smartglass International’s office example describes clear and privacy states that both transmit light. These are different product functions, not a MobileX standard-options list.
When does switching earn its place?
Compare the two activities that require opposite states. A team that always wants the same glass area screened has not yet identified a reason to add switching. A team that values the outlook for individual work but needs screening for a later paper review has a clearer reason. The useful benefit is changing the view without changing rooms, not the word “smart” on the quotation.
Do not treat all smart glazing as the same technology. For the proposed product, distinguish changing transparency for privacy from tinting for light control. Nor does a frosted-looking state alone establish complete concealment of a person or object close to the pane. Review the intended viewing distances and lighting using the observer positions above. Keep speech privacy separate: none of these visual choices replaces assessment of the enclosure’s acoustic performance.
Hypothetical example: one pod, two different viewing needs
An office wants a glazed pod for individual spreadsheet work and occasional two-person document reviews. The spreadsheet must not be readable from a neighboring desk, but colleagues should still see whether the pod is occupied. A suitably assessed display filter and screen orientation are a focused starting point; frosting the entire front would also remove a view the buyer wants to retain.
During the document review, the issue changes: paper on the table, not just pixels, must be screened from the corridor. A display filter cannot do that. Compare a defined fixed screened area with a switchable area if the clear view is genuinely needed between reviews. For work requiring complete visual concealment, compare a fully screened layout and verify it from the relevant observer positions before selecting the configuration. This is a hypothetical selection example, not a MobileX installation or a privacy guarantee.
Compare quotations for the same panel area and intended result. Keep the base pod separate from any specified film or glazing, electrical controls, installation and required site work. An offer for a film alone is not equivalent to an installed switching system. Bring the selected visual requirement into the MobileX layout discussion; the agreed drawing and quotation identify which components and work are actually supplied.
Specify a proposed treatment before approving it
“Frosted glass” or “privacy film” is not a complete specification. Identify whether the proposal changes the glass itself, applies a film to a particular surface, or introduces another agreed screening component. Ask the supplier to identify the material, product reference and exact treated area on an elevation.
Before accepting a proposed solution, resolve these points with the responsible suppliers:
- Substrate and application: what glass or existing coating is involved, which surface will receive the treatment, and what written compatibility and installation instructions apply?
- Extent and interfaces: where does the treatment start and stop, and how does it relate to frames, handles, hinges, opening movement, product labels and any required visibility markings?
- Installed appearance: which sample or representative area will be reviewed, from which viewpoints and under which relevant lighting conditions? A small swatch helps compare appearance but does not reproduce the whole layout.
- Cleaning and repair: which instructions, cleaning materials and methods apply, who will maintain the surface, and how would a damaged section be replaced or removed?
- Supply and responsibility: is the work factory-applied, locally installed or still unconfirmed? Who provides the material and installer, and what effect does the proposal have on the product documents, warranty scope, price and schedule?
Ask the project team to check any applicable glazing or building requirements for the actual installation. A decorative treatment should not be used as evidence of a safety rating, acoustic result or other performance claim. Request the relevant documents separately when the project needs them.
Use the finish approval guide for color, texture and logo references. Keep the view and screen-privacy decision here separate from approval of the decorative appearance.
Send a drawing that makes the choice clear
A useful supplier brief combines an annotated plan with the relevant elevation, rather than a long list of loosely related preferences. It should show:
- Pod location, glazed and opaque faces, door movement and nearby circulation.
- Intended seats, furniture, screen positions and relevant equipment dimensions.
- Windows, controllable blinds and proposed lighting conditions.
- Numbered observer positions, the views to retain and the specific content or area to screen.
- Proposed treated areas or alternative orientations, with unresolved choices identified.
- The selected design, quantity, destination and the party responsible for site review and any local installation.
Ask for two feasible alternatives if the trade-off remains open, such as keeping the existing panels with a revised orientation versus adding a specified treatment. Request a clear account of what changes in the supply scope and what still needs confirmation. Incorporate the accepted arrangement into the custom pod drawing review.
Start a model discussion with the relevant office pod product options, and use custom modular pod enquiries where an identified layout requirement needs a project-specific review. Send the marked-up plan through Contact MobileX POD, stating which view is the problem and which view must remain. That gives the supplier a concrete layout question to answer before the glazing arrangement is approved.