Office Pod Near a Window or in the Interior? Compare Daylight, Glare and Heat
Place an office pod beside exterior windows only when the position gives users a useful view or daylight without creating unresolved screen glare, camera backlighting, solar heat or loss of access to the building window. An interior position may be preferable when it avoids difficult afternoon sun or preserves access to blinds and the building window. If the host room cannot provide suitable conditions during use, moving the pod farther inside is not, by itself, a solution; resolve the room conditions or consider another suitable room first.
This is a location decision, not a claim that one pod glazing style controls daylight or heat. Compare the same proposed pod in at least two positions and keep the building window, shading, workstation and room services in the test. A window-adjacent position can be attractive, but the empty floor area beside the facade is not automatically the best place to work.
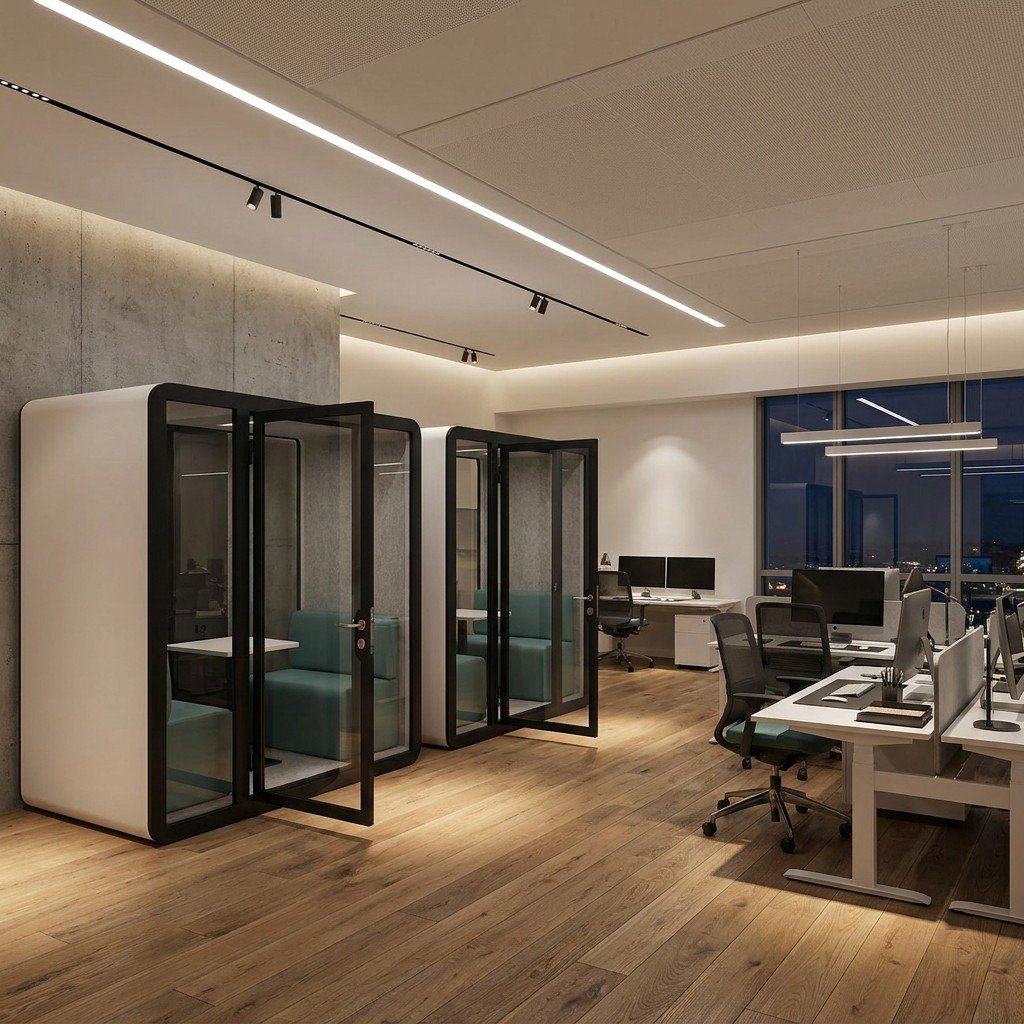
Start with the reason for using the window zone
A position near the facade can preserve an outward view from the pod and place daytime work close to natural light. It may also use floor area that is not suitable for a full desk run. Those are valid reasons to test the position. They are not enough to approve it.
First name the task inside the pod. A short voice call may tolerate a view that is unsuitable for sustained screen work. A video call adds the camera view: a bright window behind the user can create a different problem from a reflection on the user’s display. Paper work, samples and shared screens each need their own viewing position.
The glass-pod sightline guide helps decide what people should see through the pod and what should be screened. The location decision here is broader: whether the exterior-window zone remains workable after glare, heat, building access and surrounding circulation are considered together.
Check daylight from the occupied position
Before ordering, mark the proposed pod footprint and use the planned seat, work-surface height, screen and camera positions to compare the two locations. Check the relevant working hours and ask the building team about seasonal changes in direct sun and shading. This preliminary check can reveal obvious glare or access conflicts, but it does not reproduce the final pod glazing, reflections or thermal conditions. After installation, verify the occupied arrangement with the actual pod, equipment and shading in place.
The US Occupational Safety and Health Administration recommends arranging workstations to minimise glare from windows and placing display screens at right angles to bright windows where practical. The US General Services Administration also notes that high daylight levels can create glare and that furniture position affects the result. These are workstation and building-planning principles, not evidence of a MobileX model’s glazing performance.
Compare the available responses in a sensible order:
- rotate the work surface or screen within a workable pod layout;
- rotate or move the pod while preserving its entrance and service needs;
- use an existing building blind or shading system that can be operated when required;
- choose the interior position if the window condition remains unreliable; or
- request a project-specific review only when a different pod layout or panel arrangement is genuinely needed.
Do not use a darker product image, a decorative film description or a different screen brightness as proof that the final site problem is solved. The relevant arrangement must work for the task and the real window condition.
Keep glare, solar heat and ventilation as separate checks
A screen can be readable while the window zone still becomes uncomfortable later in the day. Building orientation, shading and glazing affect solar exposure. The US Department of Energy identifies east- and west-facing glass as more difficult to shade and links window design to both daylight and solar heat gain. That does not establish a temperature rise inside a particular pod; it explains why a morning-only viewing check is incomplete.
Record when the location receives direct sun, what shading is available and whether the host-room cooling operates during the intended sessions. Then review how air reaches and leaves the proposed pod position. Do not treat the pod fan as a substitute for a host-room cooling decision, and do not infer cooling capacity from visible grilles or a comfortable showroom visit.
Use the office-pod cooling and ventilation scope guide when the location raises a real heat or building-services question. Use the lighting and controls guide when the task needs a separate work light, camera light or control arrangement. Keeping these scopes separate prevents a blind, lamp or fan label from becoming an unsupported comfort promise.
Protect the building window and the space around it
The facade is still part of the building after the pod is installed. Check whether the proposed position interferes with an operable window, blind controls, perimeter heating or cooling, cleaning access, inspection access or a route needed by the building team. Include columns, floor outlets, convectors and nearby diffusers on the same plan.
Also consider daylight outside the pod. A tall enclosure placed directly against a window may change how daylight reaches nearby desks. The answer is not a universal setback: compare the real room, window and pod outline, and ask the responsible design or facilities team to review the effect. If preserving shared daylight matters more than giving one pod the facade position, an interior location may be the stronger plan.
The footprint, height and site-fit guide covers the model dimensions and room fit that must be checked alongside this environmental comparison.
Compare two positions with the same hypothetical pod
This example is hypothetical. It illustrates the decision method and is not a MobileX project, a daylight calculation or a comfort result.
Position A: directly beside a bright afternoon window
The outward view is useful, but the screen faces a changing bright area. The available blind is controlled for the whole room, and the pod position would restrict access to part of the window zone.
Decision: do not select the facade position from appearance alone. Test a different orientation or compare the interior position before requesting a custom change.
Position B: farther inside the same room
The pod remains near the team, the screen can sit across the main window direction, and the building window and blind remain accessible. The host-room air path and door approach can be reviewed without the facade conflict.
Decision: use this as the stronger starting position if it still supports the intended calls or desk work and passes the normal site-fit review.
Know when the pod is not the answer
If the only problem is glare at an existing desk, moving the screen, adjusting suitable blinds or choosing another existing workstation may solve it without buying an enclosure. If a suitable room already supports the calls or focused work and is reliably available, use that room before adding another product.
A pod becomes relevant when the office still needs a separate enclosed place for the activity after the simpler room and workstation options are considered. Its location must then work as both a product position and an occupied workplace.
Send two location options with the enquiry
For a useful MobileX discussion, send:
- the intended activity, typical session timing and main equipment;
- the proposed model or required capacity, quantity and destination;
- a floor plan marking the exterior windows and two possible pod positions;
- window direction or known sun period, existing blinds or shading and any unknowns;
- screen, camera, seat and door orientation for each position;
- nearby air outlets, returns, perimeter units, floor outlets and circulation;
- window, blind, cleaning and facade access that must remain available; and
- the party responsible for reviewing building conditions and site work.
Start with the MobileX office pod range, then send the marked plan to MobileX POD. Ask the quotation to identify the proposed model and configuration while leaving building shading, cooling and local site work with the responsible project parties unless they are expressly included.