Office Pod Options: What Do You Actually Need?
Choose an office pod option when it helps with the work people will do or a real site constraint. A display, extra connection or different furniture layout is useful when the people using the pod need it; adding every available feature can make quotations harder to compare without making the pod more suitable. Start with the base configuration, then mark each change as required, optional or unnecessary.
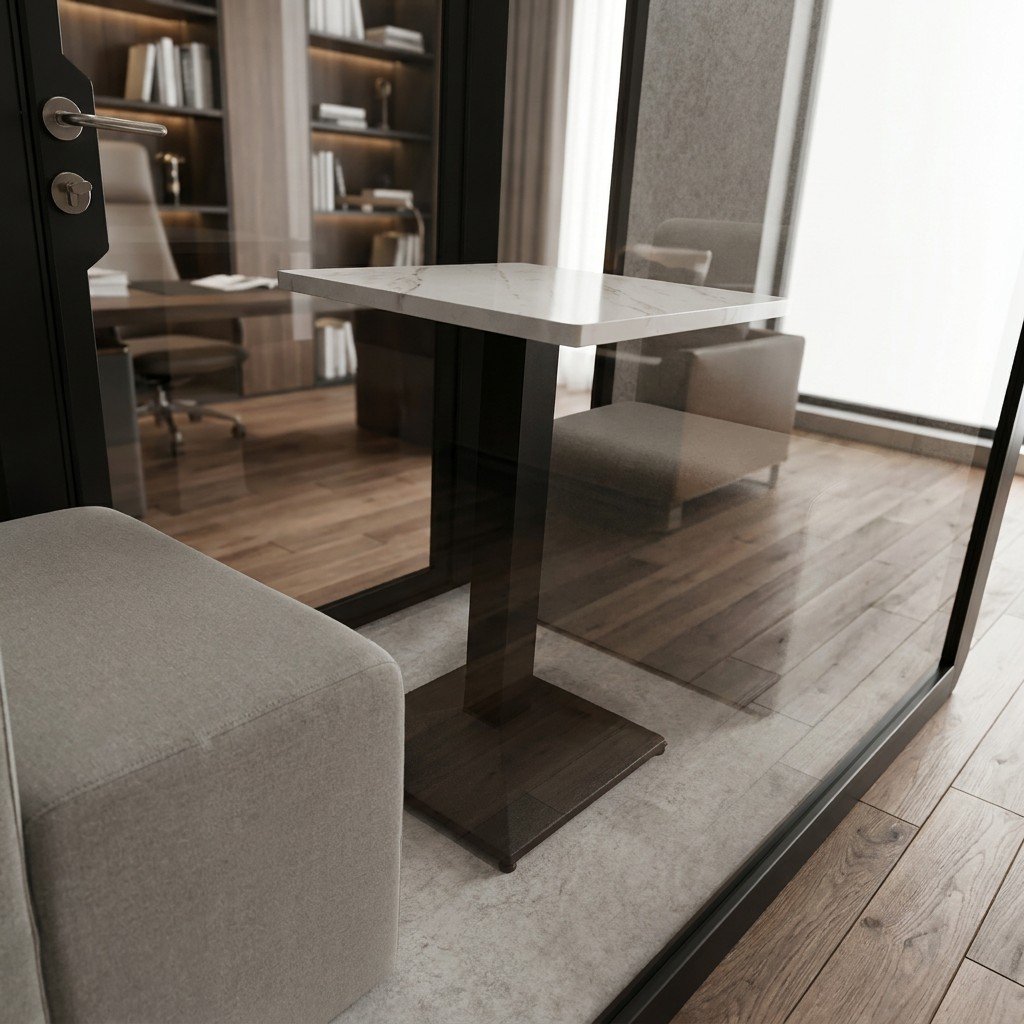
Use the task to decide what earns space and cost
Begin with the usual session, not the rarest one. A person taking short laptop calls may need a reliable power point and a usable shelf, while a small group reviewing drawings may need a shared display position, seating sightlines and a way to connect its devices. Neither brief can be settled by the option name alone. Check the proposed positions on a drawing and, where possible, try the actual equipment and furniture together.
| Proposed change | Choose it when | Leave it out or defer it when | Confirm in the quote |
|---|---|---|---|
| Extra socket, USB or network connection | The named devices need a connection at the intended working position. | Existing approved connections serve the actual devices; a spare port has no planned user. | Connector type, location, power or network responsibility and any cable route. |
| Display or mounting provision | Shared content is part of normal meetings and the viewing position has been checked. | Users normally join on their own laptops and no shared display task has been identified. | Who supplies the screen, its dimensions, mount, cable path and local setup. |
| Furniture or layout change | The proposed table, seat or equipment does not fit the intended posture or circulation. | The standard arrangement passes a task-based trial with the actual users and equipment. | Furniture included, working clearances, door movement and any buyer-supplied items. |
| Lighting or control change | Reading, screen use or camera view needs a different position or control behaviour. | The base lighting works in a relevant on-site trial. | Control method, positions and what can actually be adjusted in the selected configuration. |
Do not buy a feature to solve the wrong problem
If the concern is speech privacy, ask for acoustic evidence that applies to the proposed configuration and installation; a different chair or extra socket will not tell you whether conversations stay private. If calls suffer from weak connectivity, check the building network and devices before specifying another pod connection. If the room is warm, separate air movement from active cooling and check the room environment. Choose an option to address the problem you have found, not a guess about its cause.
For a closer review, see the guides to device connections, lighting controls and the furniture working envelope. Each addresses a specific interface; this article helps decide which interface deserves a line in your project brief.
Turn the shortlist into a comparable quotation
Send each supplier the same intended use, number of users, destination and proposed base model. For every change, explain what it must solve and how you will check that it works. Mark an item required only if the pod cannot perform its usual task without it; ask for preferences as separately priced options. Check whether each option replaces a base component or is added to it, and list equipment you will supply yourself.
Intended use and session length: [describe]
Number of users and equipment: [list]
Preferred model or available space: [state]
Required options and reasons: [list]
Optional items to quote separately: [list]
Buyer-supplied items: [list]
Quantity and destination: [state]
Please show the base configuration, each addition or replacement, and the drawing reference used for the quote.
MobileX can discuss office pod and meeting booth configurations through its office pod range. If the requested arrangement changes the shell or interfaces, use the custom project route with a drawing and equipment brief. The final inclusion list belongs in the project quotation, not in a reference image.